Camera controls
Retrieving viewpoints
The camera position and orientation can be defined in different ways:
- Positional viewpoint: This defines the camera by its position and the position of its target.
- Angular viewpoint: This defines the camera by the position of its target, and the camera position is computed from the tilt, bearing, and the distance to the target. This kind of viewpoint becomes imprecise as the distance increases.
- Pose: This defines the camera as its position, bearing, and tilt. It is as precise as a positional viewpoint, but does not describe a target point.
Application developers are encouraged to use positional viewpoints when the target is important, and poses when it’s not. Angular viewpoints are useful for animations but might become imprecise when using very large distances (in the thousands of kilometers).
All three kinds of viewpoint can be retrieved through the camera service using the appropriate methods (GetCameraXxxxx).
There is another structure capable of expressing a viewpoint, which is BoundsView. But it can only be used to specify a target with the orbit manipulator (see below).
Retrieving view information
The camera service can also return the area currently visible on screen, either for just a scene view, or for all scene views associated with a given camera. There are two variations: the view box and the view polygon. The view polygon is more precise than the view box, as the box is just the maximum extent of the polygon. See GetCameraViewBox, GetSceneViewViewBox, GetCameraViewPolygon, and GetSceneViewViewPolygon.
Additionally, the geographic coordinates at a given point on screen can be retrieved through the LatLonAltToPixelCoords method, and scale and altitude information for a scene view can be retrieved with GetSceneViewScaleAndAltitude.
Using the view polygon
Properly displaying the view polygon requires a bit of juggling with geographic coordinates. The points are returned in latitude-longitude, with the longitude always between -180° and 180°. This means that when the view polygon crosses the antimeridian, its coordinates can be discontinuous. The polygon is returned like this so as to not make any assumption about how it will be displayed.
There are different corner cases to handle.
- When
encompasses_north_poleorencompasses_south_poleare true, the polygon is a ring around one of the poles (it is impossible for both to be true at the same time). A good strategy for displaying this polygon in 2D is to display a rectangle at the north or south pole, with one of the edges describing the latitudes of the circle. - Otherwise when the
crosses_antimeridianboolean is true, the longitude might jump from one side of the antimeridian to the other. Some rendering engines require these coordinates to be normalized so that they are locally in a continuous space. To do so, you can usecenter.longitudeto center the polygon, normalize the longitudes, and offset by the center longitude again. This will create longitudes that are continuous for the entire polygon.
function fix_longitude(longitude) {
    let centered = longitude - polygon.center.longitude;
    if (centered > 180) return longitude - 360;
    else if (centered < -180) return longitude + 360;
    else return longitude;
}
Using the view box
Just like the view polygon, the longitudes are always between -180° and 180°, so the additional information must be used to properly display this rectangle.
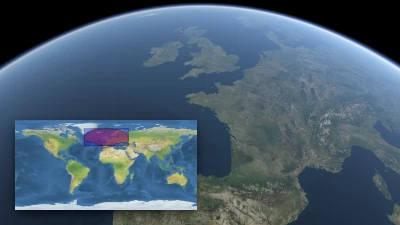
Minimap
Go to gallery demo
Retrieving the view scale and altitude
The GetSceneViewScaleAndAltitude method can be used to fetch the scale in pixels per meters and the altitude of the camera. See ViewScaleAltitude for detailed information. Below is an integration example that displays a scale bar on the screen.
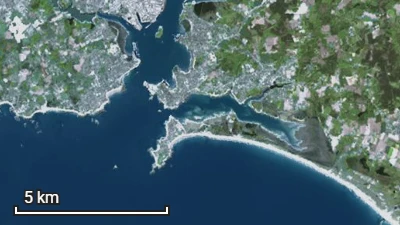
Map scale
Go to gallery demo
Moving the camera around: manipulators
The way the user can control the camera is through manipulators. There are different kinds depending on what movements the user is authorized. The manipulator type is changed by using one of the SetXxxx methods.
When changing the manipulator, the viewpoint must be specified, as well as the animation to this viewpoint, and additional parameters that depend on the manipulator type. Depending on the kind of manipulator, not all kinds of viewpoints can be used. For instance the fixed target manipulator needs a viewpoint able to express a target, so a pose cannot be used. The viewpoint is one of the field of the view union. The altitude mode specifies whether the viewpoint should be offset by the DTM altitude at the given position. The Set[Manipulator] methods are the only way to change the viewpoint programmatically.
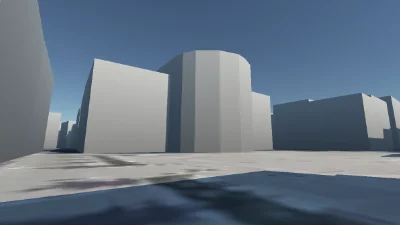
Camera modes
Go to gallery demo
Fixed position manipulator
This manipulator only authorizes rotation around the camera center. The camera cannot be moved. Minimum and maximum tilt can be specified.
Fixed target manipulator
This manipulator only authorizes rotation around and zoom towards and away from a given target point. The applicable limits and minimum and maximum tilt, and minimum and maximum distance to the target.
Orbit manipulator
This is the most permissive kind of manipulator. It can be limited with the following parameters:
- Minimum and maximum tilt.
- Maximum altitude.
- Latitude-longitude bounds.
The correction_animation field controls what happens when the camera goes out of those limits. If its duration is 0, the camera cannot go outside of those bounds. Otherwise, the camera can go outside, but shortly after being idle for a few seconds, its position is corrected using the specified animation.
Additionally, the animation towards the target viewpoint can be set to be interruptible or not by the user. Transitions can interrupt all animations, including uninterruptible ones.
Moving the camera around: higher-level API
Horizon also offers an API for simple movements: translation, rotation and zoom. This API is particularly handy when it comes to adding controls to the UI that trigger a camera movement.
This higher-level API also adds ‘continuous movements’ for each of the three movements listed above. A continuous movement is a movement that once enabled will be applied continuously to the camera. What happens when those movements are interrupted by a user action or an instant movement is given by the continuous_movement_interruption field of CameraMovement. The movement can be non-interruptible, interruptible, or interruptible but made to resume once the interrupting action has ended.
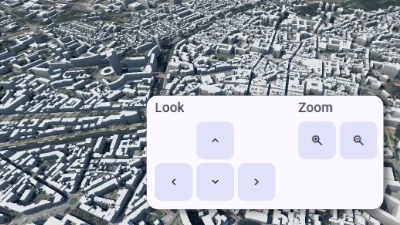
Camera movement
Go to gallery demo
Animations
The camera is animated with a duration, an easing function and an easing exponent. The easing functions are “in” (slower at the start), “out” (slower at the end) or “inout” (slower and the start and at the end of the path). The exponent dictates how slow the camera is at the start and/or at the end. It must be positive. An exponent of 1 is linear motion (same speed across the entire path).
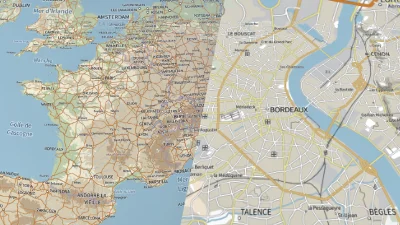
The animation parameters also include a trajectory type. The INTERPOLATED type simply interpolates the coordinates of the camera. The BALLISTIC type makes the camera go up, then down, usually allowing for a better understanding of the movement.
Camera transitions
Go to gallery demo
Notifications
Some camera events send notifications through the message queue using a CameraNotification message. Those events can be the beginning or end of animations and movements, and information about interruptions and movements resuming.
Configuration
Beyond the viewpoint aspect of the camera, there are also general configurable camera settings such as the field of view. All these settings can be checked on the camera settings page, which is in the scene settings scene model root. The examples below show some usage of these settings.